Spinner Evolution How to Travel Farther
Diagnose why runs die, then fix launch, momentum, obstacles, and upgrades in that order.
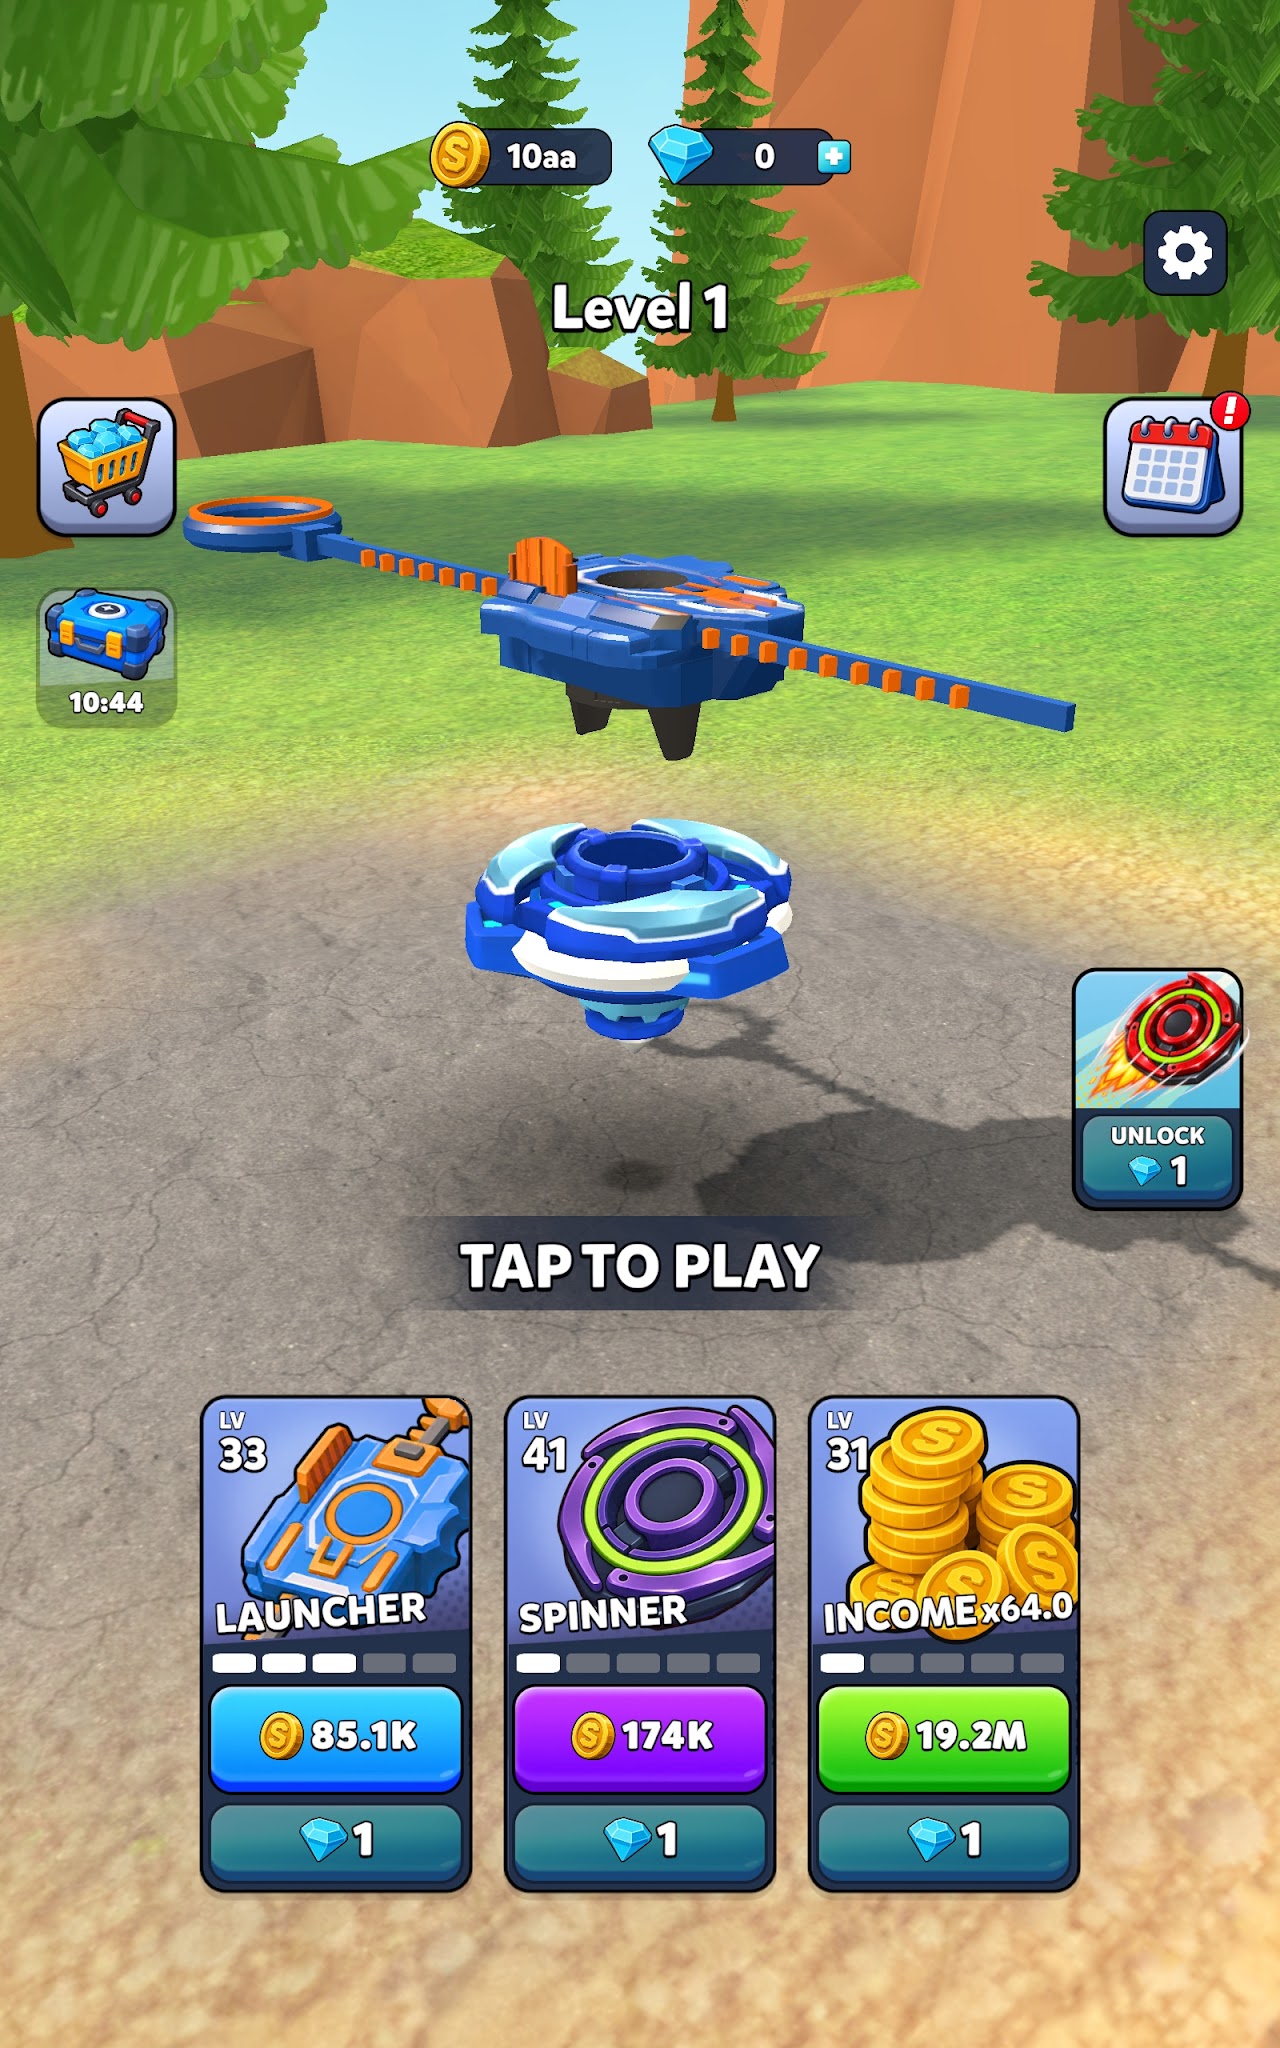
Every Spinner Evolution session ends with one number that matters: distance. Beating your record is not about one lucky bounce. It is about a strong launch, protected momentum, smart obstacle decisions, and upgrades that match how you actually fail. This guide turns failed runs into a checklist. Warm up with Controls, spend with the Upgrade Planner, rank stats via the Tier List, and rebuild fundamentals in Getting Started if your first hour was messy.
The distance equation
Think of distance as four stacked layers:
- Launch quality — aim + release timing + Launch Power.
- Speed retention — Speed upgrades and clean lines that avoid soft stops.
- Impact survival — Durability and approach angle into smashables.
- Stage literacy — knowing Farm vs Jungle vs Beach patterns so you stop improvising every attempt.
If layer 1 is broken, layers 2–4 barely matter. Fix timing before you blame the shop.
Launch: the free meters most players skip
A soft open costs you the best part of the run. Practice a fixed aim and identical release count until the first two seconds look the same across five attempts. Only then chase coin lines. Records come from repeatable opens, not from one heroic flick.
Launch checklist before a PB attempt:
- Aim into a lane you have cleared before.
- Hands dry, notifications off, one control scheme only.
- Release on your practiced count.
- Abort the mental “PB pressure” if the charge feels wrong—restart the attempt rather than forcing a bad open.
Momentum: speed that lasts
Speed upgrades raise your ceiling, but momentum is how you spend that ceiling. Momentum dies when you:
- Clip a chain of low-value obstacles at a bad angle.
- Swerve for side coins that flatten your vector.
- Enter a smash without enough Durability, turning a break into a dead stop.
- Panic-input after a bounce and add chaos.
Protect momentum by choosing the main line. Coins on the highway are good. Coins in the ditch are bait. After each death, ask whether you lost speed gradually or in one impact. Gradual loss points to Speed and line choice. One impact points to Durability and approach angle.
Obstacles: break, glance, or avoid
Obstacles are the course, not pure enemies. With enough strength you break through and keep rolling. Without it you should glance or pick a gap.
Rules of thumb:
- Break when you are upgraded for the biome and the object sits on your best line.
- Glance when a full smash would dump all speed but a side brush keeps you moving.
- Avoid early-game walls that repeatedly end runs—farm coins, upgrade, return.
Forcing the same fatal crate twenty times is not grit; it is refusing information. Upgrade the failing stat, then retry.
Upgrade targeting by failure reason
After every run that matters, tag the fail in one word:
| Fail tag | Spend next coins on | Also check |
|---|---|---|
| Soft start | Launch Power | Release timing in Controls |
| Fades mid-run | Speed | Line choice / coin greed |
| Smash stop | Durability | Approach angle |
| Mixed / unclear | Overall only if cores are close | Watch a replay mentally; pick the dominant fail |
| Inconsistent distances | Nothing yet | Ten timing drills first |
This table alone outperforms random shopping. Detailed stage spend orders live in the Upgrade Planner; situational ranks are on upgrade stats.
Stage strategy snapshots
Farm: Record lab. Learn rhythm, bank coins, set a clean PB baseline before chasing novelty.
Jungle: Denser props. Bias Durability earlier. Aim for gaps you scouted on run one and two.
Beach / Toy: Visual noise. Slow the pre-aim, keep the same release count, ignore decorative clutter.
Space / Snow: Late ladder. Enter only with balanced stats and at least one solid evolution (How to Evolve). Soft launches are punished harder.
Full unlock order and prep lists: Unlock Levels.
Session structure for a new personal best
- Warm-up (5 min): Three Farm or current-stage launches for timing only.
- Scout (5 min): Two exploratory runs; note the obstacle that ends you.
- Shop (2 min): Spend into that fail tag only.
- Push (10–15 min): Limited PB attempts while focus is high.
- Bank: Stop after two sloppy opens in a row. Fatigue erases records.
Optional rewarded ads fit best after step 3 when you need one more funded attempt—not during warm-up when you need clean reps.
Advanced habits
- Same spinner, same stage, same aim for a block of attempts so variance is mostly timing and RNG bounce, not chaos.
- Write the PB and the fail reason in a notes app; patterns appear within a day.
- Evolve between PB hunts, not in the middle of a hot streak, unless the gate is the literal wall.
- Compare medians, not miracles. Five runs around a new average beat one fluke.
- Revisit controls whenever a patch changes charge feel; do not assume old timing still peaks.
What not to do
- Dump gems into every stat before diagnosing the fail.
- Chase Beach cosmetics while Farm timing is still random.
- Call a stage “impossible” before Durability matches its smash density.
- Play forty tilted attempts after bedtime; records need calm releases.
Putting it together
Travel farther by respecting order: timing, then Launch Power, then Speed, then Durability, then stage-specific reads, then evolution. Use sibling guides—Controls, Getting Started, Upgrade Planner, and the Tier List—so every dead run buys information instead of frustration. The spinner that goes farthest is usually the one whose owner stopped guessing.
Frequently Asked Questions
Quick answers to the most common Spinner Evolution questions.
Why did my distance stop improving?
You are probably upgrading randomly or ignoring a single fail type. Tag soft start, mid-run fade, or smash stop, then spend only into that tag.
Should I always smash obstacles?
Smash when Durability and Speed support it. Otherwise glance or take a gap. A full stop costs more than skipping a breakable.
When should I attempt a personal best?
After a short warm-up and one targeted upgrade, while your release timing still feels sharp—usually within a focused 10–15 minute push window.
Do new levels automatically mean longer runs?
Not at first. New biomes change obstacles. Scout, upgrade for the new fail type, then push. See Unlock Levels for prep tips.
Is Speed always the best distance stat?
Speed helps a lot once launches are solid, but Durability wins when smash walls end runs. Rankings by situation are on the upgrade stats tier list.